


Are you working with Revit and want to use your model in DIALux?
This guide explains how to correctly export Revit models as IFC files right now – and highlights typical points to watch out for.
Export the Revit model as IFC
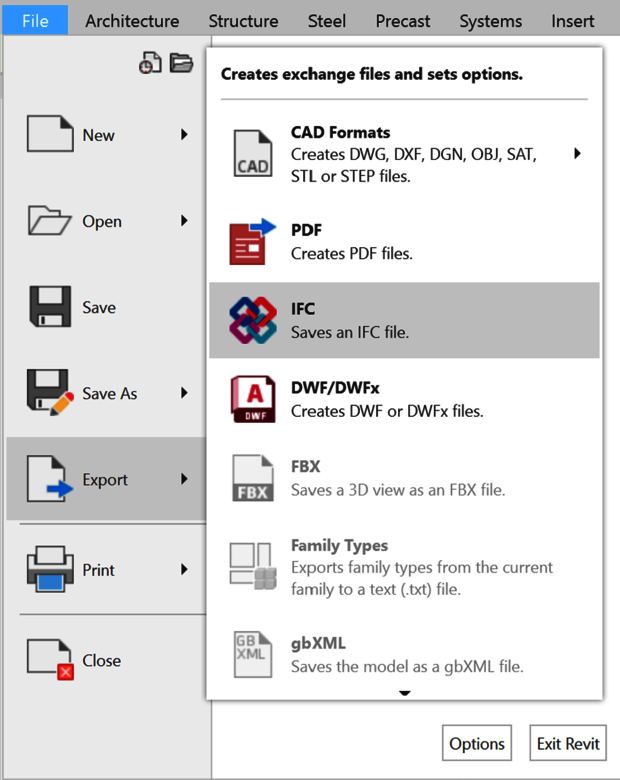
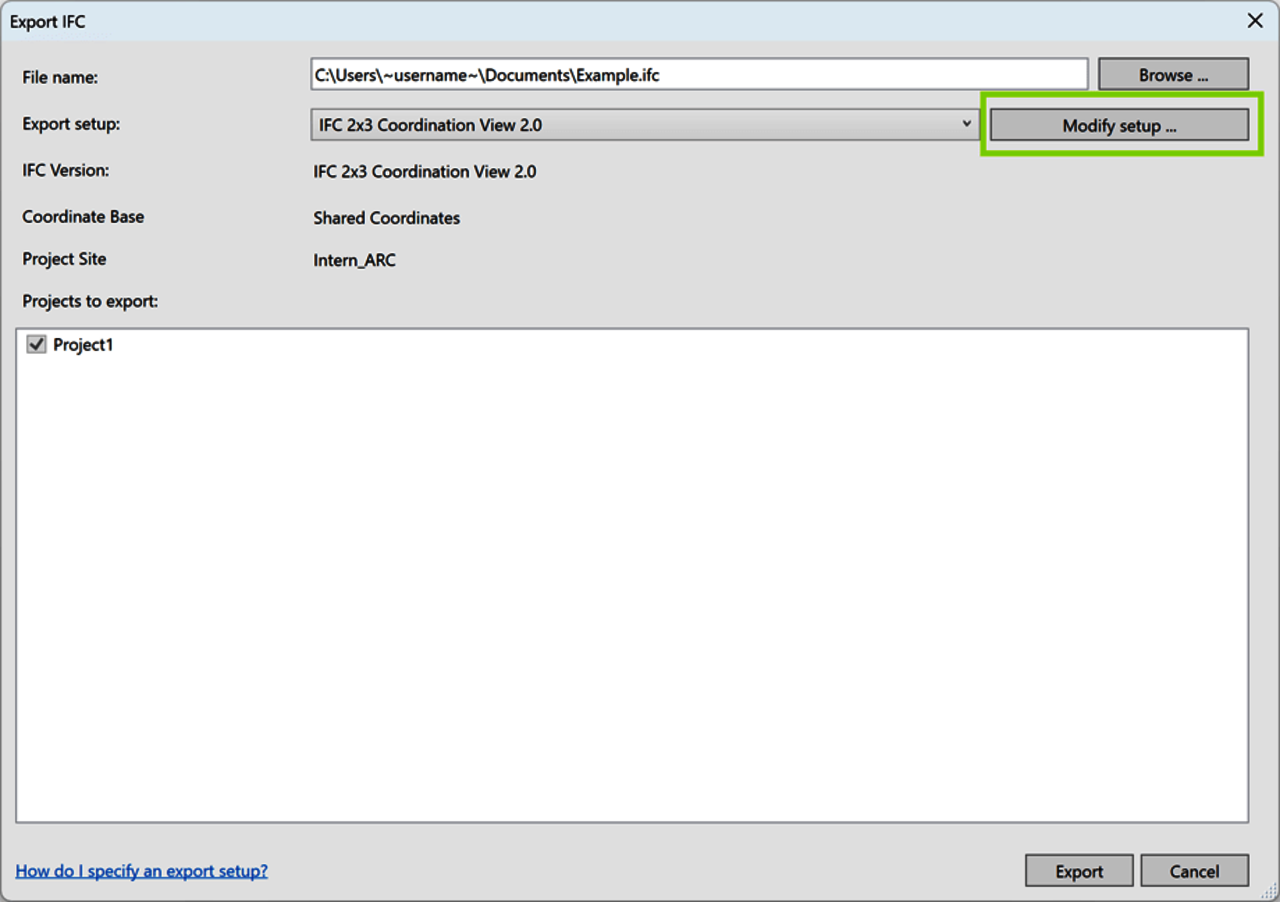
Start by exporting your Revit model: Revit Menu → File → Export → IFC
Especially in larger projects, it’s common to work with multiple sub-models (e.g., architecture, MEP, structural engineering) that are combined into one complete model. These are known as federated models. Each sub-model is its own Revit file.
Sub-models are exported with separate locations
The problem:
When exporting federated models, Revit can automatically assign a separate location to each sub-model in the IFC file.
The result:
DIALux only processes one location per IFC file.
Other sub-models are ignored – large parts of your building might be missing!
How to avoid this:
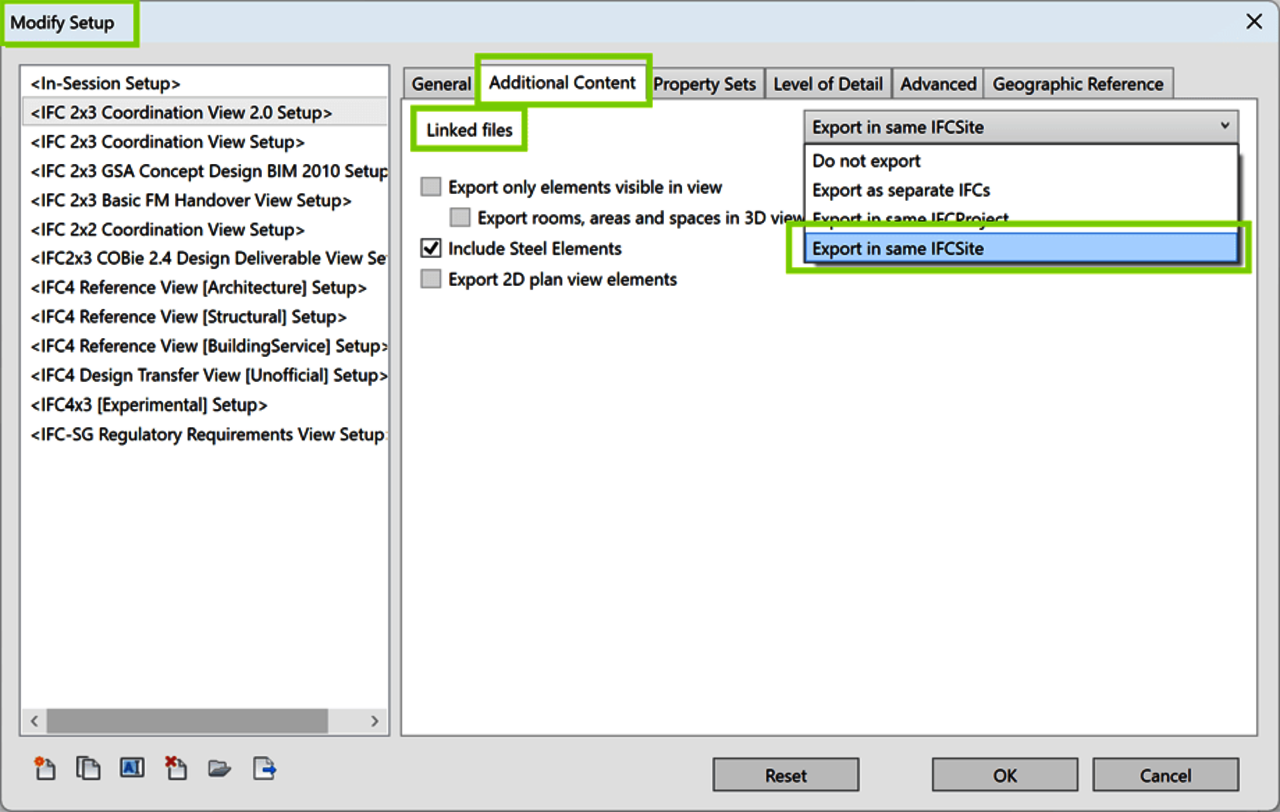
Ensure that all linked models are assigned the same location during export:
Adjust export setup → Additional content → Linked files → ✅ Export using shared location
Example:
If you export your architectural model and MEP model separately without enabling this setting, DIALux may only display the building envelope – but no installations, ceilings, or technical spaces.
Incorrect use of the “Building Storey” checkbox
The problem:
In Revit, storeys are defined by levels (cut planes). If you activate the “Building Storey” checkbox, a storey is automatically generated in the IFC file during export.
However, this checkbox is often also activated for element groups that do not represent actual storeys – for example, handrails, furniture, or ventilation components.
The result:
This creates unnecessary or nested storeys that confuse or complicate navigation and structural calculation in DIALux.
Typical examples:
A handrail is suddenly interpreted as its own storey.
Furniture groups become separate floors in the IFC structure.
MEP components mistakenly generate “intermediate levels.”
Correct approach:
Check in Revit which elements truly define a storey. For components that merely sit on a level, you should not activate the checkbox.
Best practice:
Only mark actual floors such as “Ground Floor,” “Upper Floor,” or “Roof” as storeys.
Do not activate the checkbox for furniture, stairs, or MEP groups.
